Start with the water the channel needs to collect and the space available below the finished floor. Confirm the outlet route and cleaning access before choosing the width or grating style.
Map the water before choosing the channel
Mark each discharge point on a floor plan: equipment outlets, washdown areas and water crossing a doorway. Record which discharges can occur together. A long channel may collect water over a large area, but length alone does not establish its discharge capacity.
- Identify the location and timing of each water source.
- Describe solids, fats or debris that could enter the drain.
- Show the intended direction of floor falls and the downstream pipe route.
Check the complete installation depth
Measure from the finished floor to the actual construction limit. A channel body dimension is not the same as the total installed depth: the outlet, trap, connections, support and waterproofing detail also need space. Ask for a section drawing showing the whole assembly.
Review the grating and maintenance access
Describe pedestrian, trolley and vehicle traffic separately. Check how the grating is supported and retained, how it is removed and whether baskets and traps remain accessible after installation. A narrow opening may suit one use while making cleaning more difficult in another.
Send a useful project brief
Prepare a marked-up plan and section rather than only a requested channel length. Ask the supplier to identify assumptions and provide hydraulic data for the proposed assembly. Confirm the applicable project requirements with the designer before placing an order.
- Application, destination country and installation location.
- Available length, width, depth and finished floor build-up.
- Peak discharge information, outlet position and pipe connection.
- Cleaning regime, traffic, material requirements and quantity.
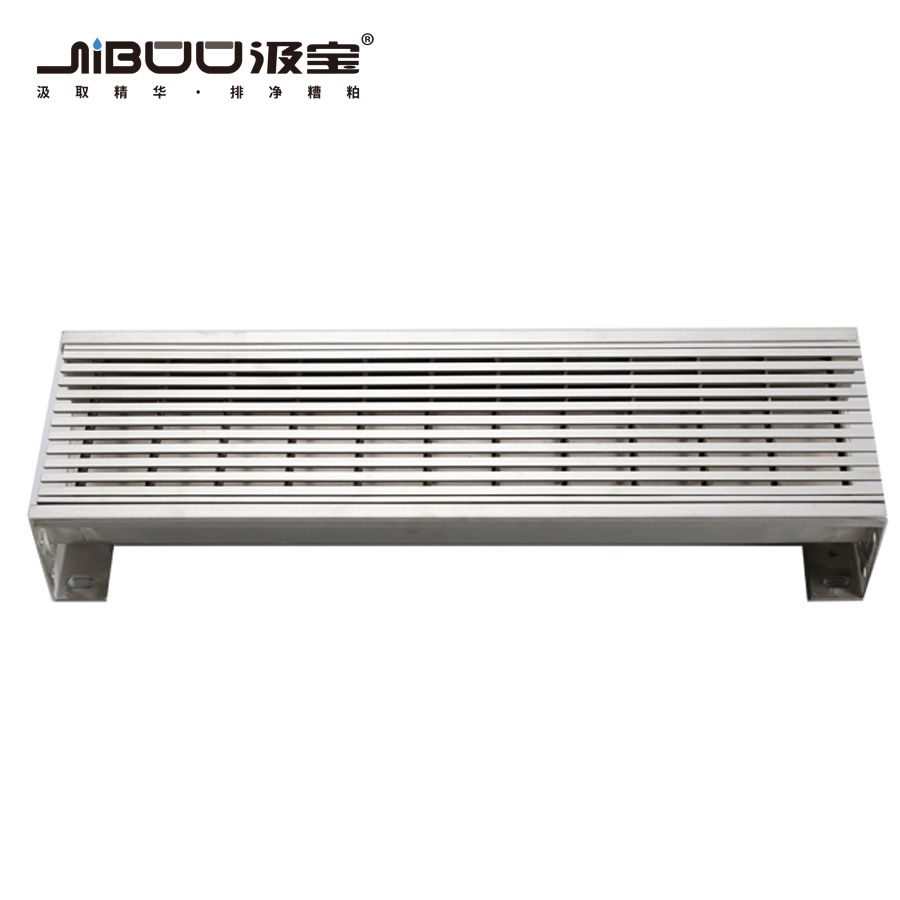
Explore the components mentioned in this guide. The pictured product illustrates a drainage assembly; suitability depends on the project specification.
View product references ↗This guide supports project discussions. Final selection and installation should follow the approved design, the product documentation and applicable local requirements.