Trench drain sizing needs a design flow and a defined installation arrangement. Channel width or outlet diameter alone is not a capacity calculation.
Establish the design flow
For equipment discharges, obtain flow data and identify which sources can operate at the same time. For external drainage, ask the project designer to establish the relevant catchment and rainfall design basis. Keep assumptions visible so that the supplier can assess the correct duty.
Draw the route to the downstream connection
Show run lengths, changes of direction, floor levels, channel depth and every outlet. Include the downstream connection details available from the plumbing designer. A capacity figure from a different layout should not be treated as confirmation for your installation.
Ask for the basis of the capacity figure
Request the conditions behind any quoted capacity: the tested or calculated assembly, water head, grate configuration and outlet arrangement. Ask whether the evidence applies to your complete system or only to one component.
- Design flow and its source.
- Channel and grate dimensions.
- Outlet number, size, position and downstream route.
- Available levels, installation depth and maintenance access.
Confirm the result with the project designer
Use the supplier's data to support the project review. Do not select a standard channel size solely because it was used on another project. Record the accepted layout and unresolved assumptions before manufacture or installation.
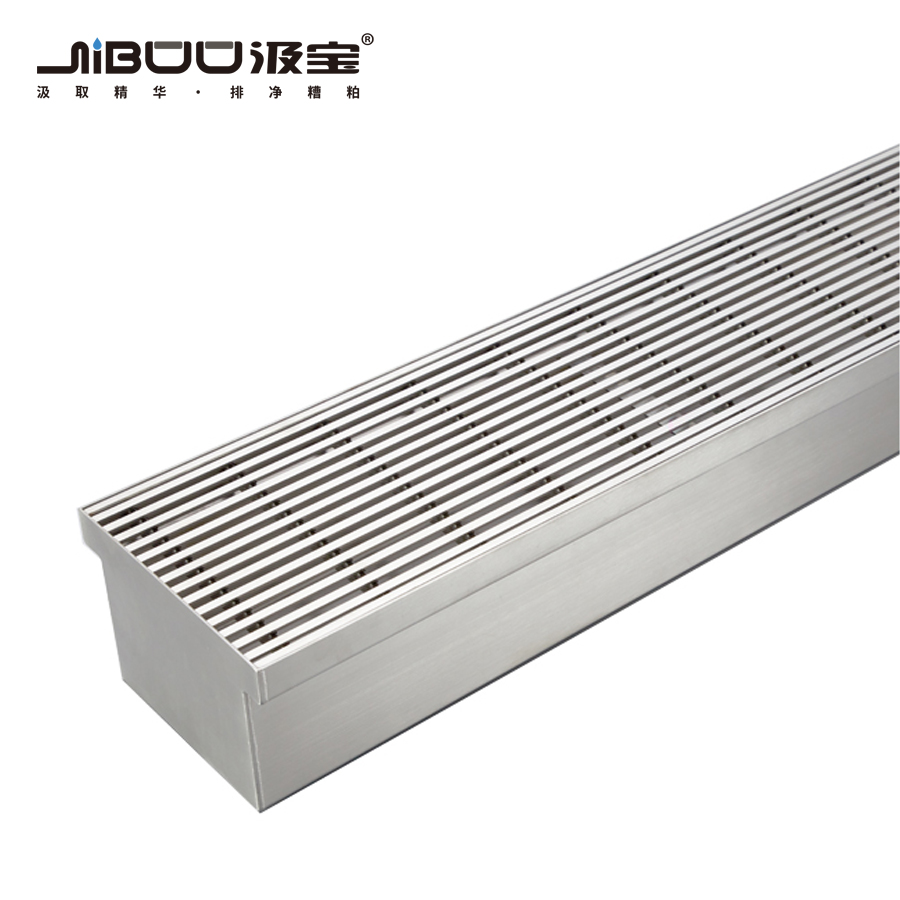
Explore the components mentioned in this guide. The pictured product illustrates a drainage assembly; suitability depends on the project specification.
View product references ↗This guide supports project discussions. Final selection and installation should follow the approved design, the product documentation and applicable local requirements.